Star Burst
*Making Christmas ornaments is as easy as 1-2-3*
Hanging a sparkly star burst ornament on your Christmas tree has never been easier. Follow this step-by-step tutorial and learn how to make this easy craft right now.
I love gazing at the stars, it's so peaceful and comforting. And if a star ever burst at Christmas time this is what I think it would like. It would have rays beaming at all angles from it and it would be sparkling with light.
If anyone had ever told me that I would capture the idea of a Christmas star burst with empty toilet paper rolls I would have said they were off their rocker. Capturing celestial beauty with everyday mundane objects just seems unfathomable.
Well, it may seem unfathomable but it is definitely not impossible because I did it and you can too, it's easy as pie. Follow the directions below and before you know it you'll be hanging your own starry beauty from your Christmas tree.
Materials:
- one empty toilet paper roll
- red and gold paint
- sparkle glue
- paint brush
- pencil
- ruler
- scissors
- paint dabber
- glue gun
- red ribbon
Instructions:
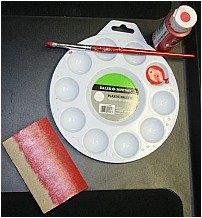 |
1. Take a toilet paper roll and press it flat like a piece of paper. 2. Paint the toilet paper roll on each side of the fold so that one entire side of the tube is painted. Add as many coats of paint as you like. |
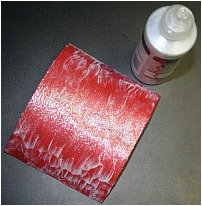 |
3. When the paint is completely dry cut along one side seam and open the roll up. Lay it flat and apply sprinkles or sprinkle glue all over the painted side. |
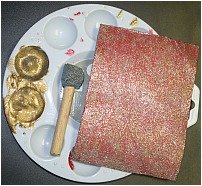 |
4. Dab gold paint all over the roll with the paint dabber. |
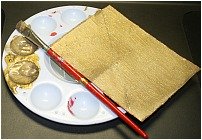 |
5. When the gold paint is dry flip the toilet paper roll over and paint the other side with gold paint. 6. Once the gold paint is completely dry dab red paint all over using the paint dabber. |
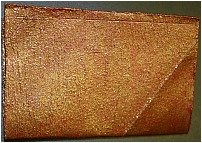 |
7. When the paint is dry fold the roll in half once again. |
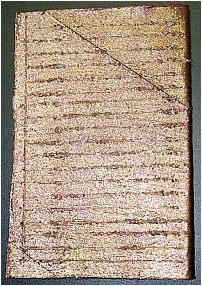 |
8. Measure and draw a line 0.5 cm from the end that has been cut. 9. Draw horizontal lines 0.5 cms apart. Start at the line you drew in step 8 and extend the line all the way to the fold. |
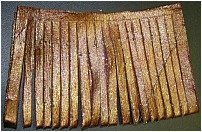 |
10. Cut along these horizontal lines. Start cutting at the folded end and cut the line only as far as the 0.5 cm line you drew in step 8. |
11. Unfold the toilet paper roll and lay it flat. Now flip the roll over so that the red side is facing up and fold it in half once again.
12. Glue the ends (the end where you drew the line in step 8) together.
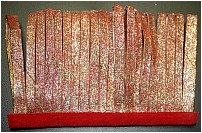 |
13. Glue the red ribbon along the bottom of the roll. |
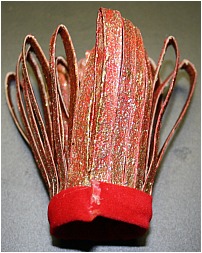 |
14. Fold the roll into a circular shape and glue the ends together. |
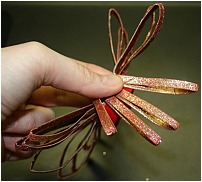 |
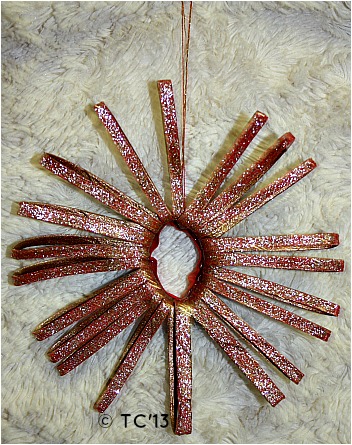
15. Bend all the little arms down so that they are laying at a 90 degree angle from the ribbon. |
16. Attach some string to your starburst and you're all done.
Congratulations! You have successfully made your very own Christmas Star Burst. Go display your beautiful sparkly ornament on your Christmas tree and spread the word about how easy it was to make.
Here are some other craft ideas you might like.
Just click on the picture to view the craft.
|
Home ← Recycled Crafts ← Star Burst |

New! Comments
Have your say about what you just read! Leave me a comment in the box below.